
Home / How it works
How it works
How touch foil works, and how it goes on.
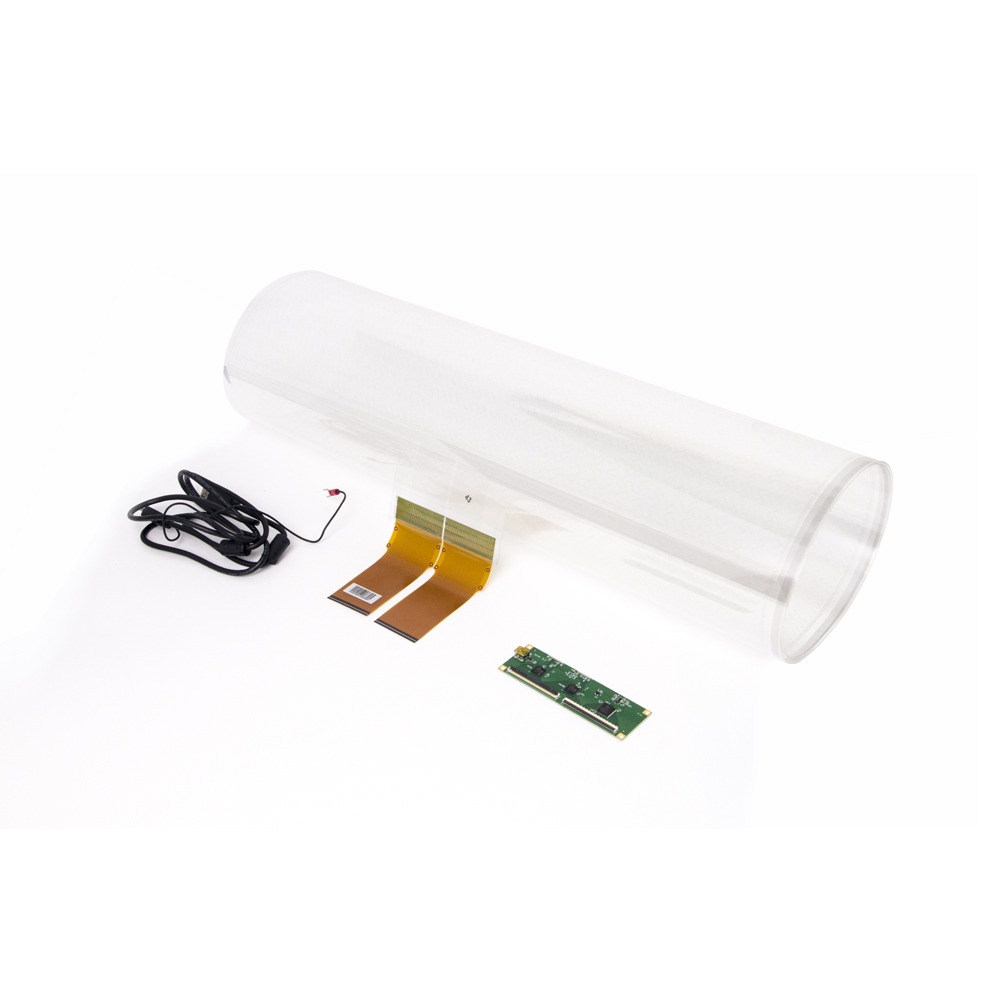
A thin sensing film, a controller and one USB cable. Here is what each part does, how to install it, and how to get a clean, reliable touch.
The technology
A grid that feels fingers through glass.
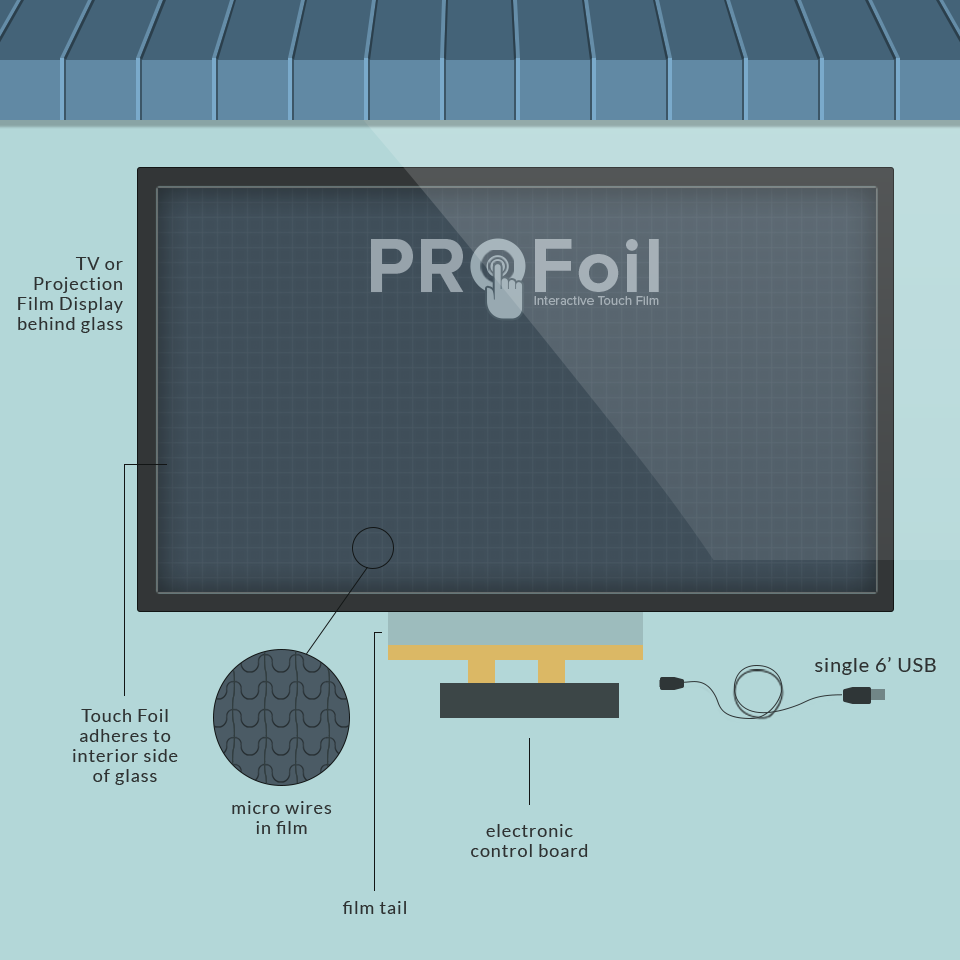
Touch foil is a projected-capacitive sensor. Between layers of clear film sits a fine grid of wires. When a finger touches the outside of the glass, it changes the electrical field at that spot, and the controller works out exactly where. Because it senses through the glass, the glass itself becomes the touch surface.
The foil is about as thick as a sheet of cardstock and almost completely transparent, so it can sit in front of a display or share the glass with a projection film.
- Works through glass, acrylic and other non-conductive materials
- Multi-touch: pinch, zoom, rotate and swipe
- Shows up on the computer as a standard touch screen
- Powered over USB (5 V)
Two ways to build
Screen or projector
With a screen
Touch foil + glass + LCD, LED or high-brightness monitor + computer.
With a projector
Touch foil + glass + rear-projection film + projector + computer.
Computers
Windows, Android and Linux. Mac with the Pro Touch 40 controller; multi-touch on Mac depends on the macOS version.
Installation
Installing touch foil, step by step
The foil is applied wet, much like window film. Test the foil with its controller before you apply it: once it is on the glass it cannot be moved to another pane.
Clean the glass
Wash the inside face of the glass with clean water (distilled or filtered is best). Dust left behind becomes a bubble.
Peel and spray
Spray water on the foil and peel off the protective liner while you keep spraying. Handle it gently.
Position it
Lay the adhesive side on the glass. The area inside the marked lines is the touch area: line it up with the edges of the picture. You can slide it into place for about five minutes.
Squeegee and dry
Push water and bubbles out from the centre to the edges. Then leave it 24 to 48 hours to dry fully before connecting anything.
After it dries
- Make sure the connector contacts are completely dry before plugging the tail into the controller.
- Connect the controller to the computer with the USB cable.
- Run the calibration. Pro Touch uses a quick 4-point calibration: touch the centre of each circle in turn.
- Remove the outer protective film last.
Reliable touch
Avoiding interference
Most touch problems are electrical noise. These habits prevent them.
Ground it
Use a grounded power socket and a good-quality power supply. Fix the controller board to the frame and ground it, and ground the USB cable’s shield to the chassis.
Route cables apart
Keep the USB cable away from power cables and from the back of the display. Do not lay the controller directly on bare sheet metal.
Keep your distance
Keep metal at least 3 mm from the foil, and the foil tail and controller at least 5 cm from card readers and other radio transmitters.
Touch stopped after a few hours? Unplug and replug the USB cable. If that fixes it, the cause is interference: check the grounding. More answers in the FAQ.
Questions about your build?
Our team will talk you through glass, screens and installation.